
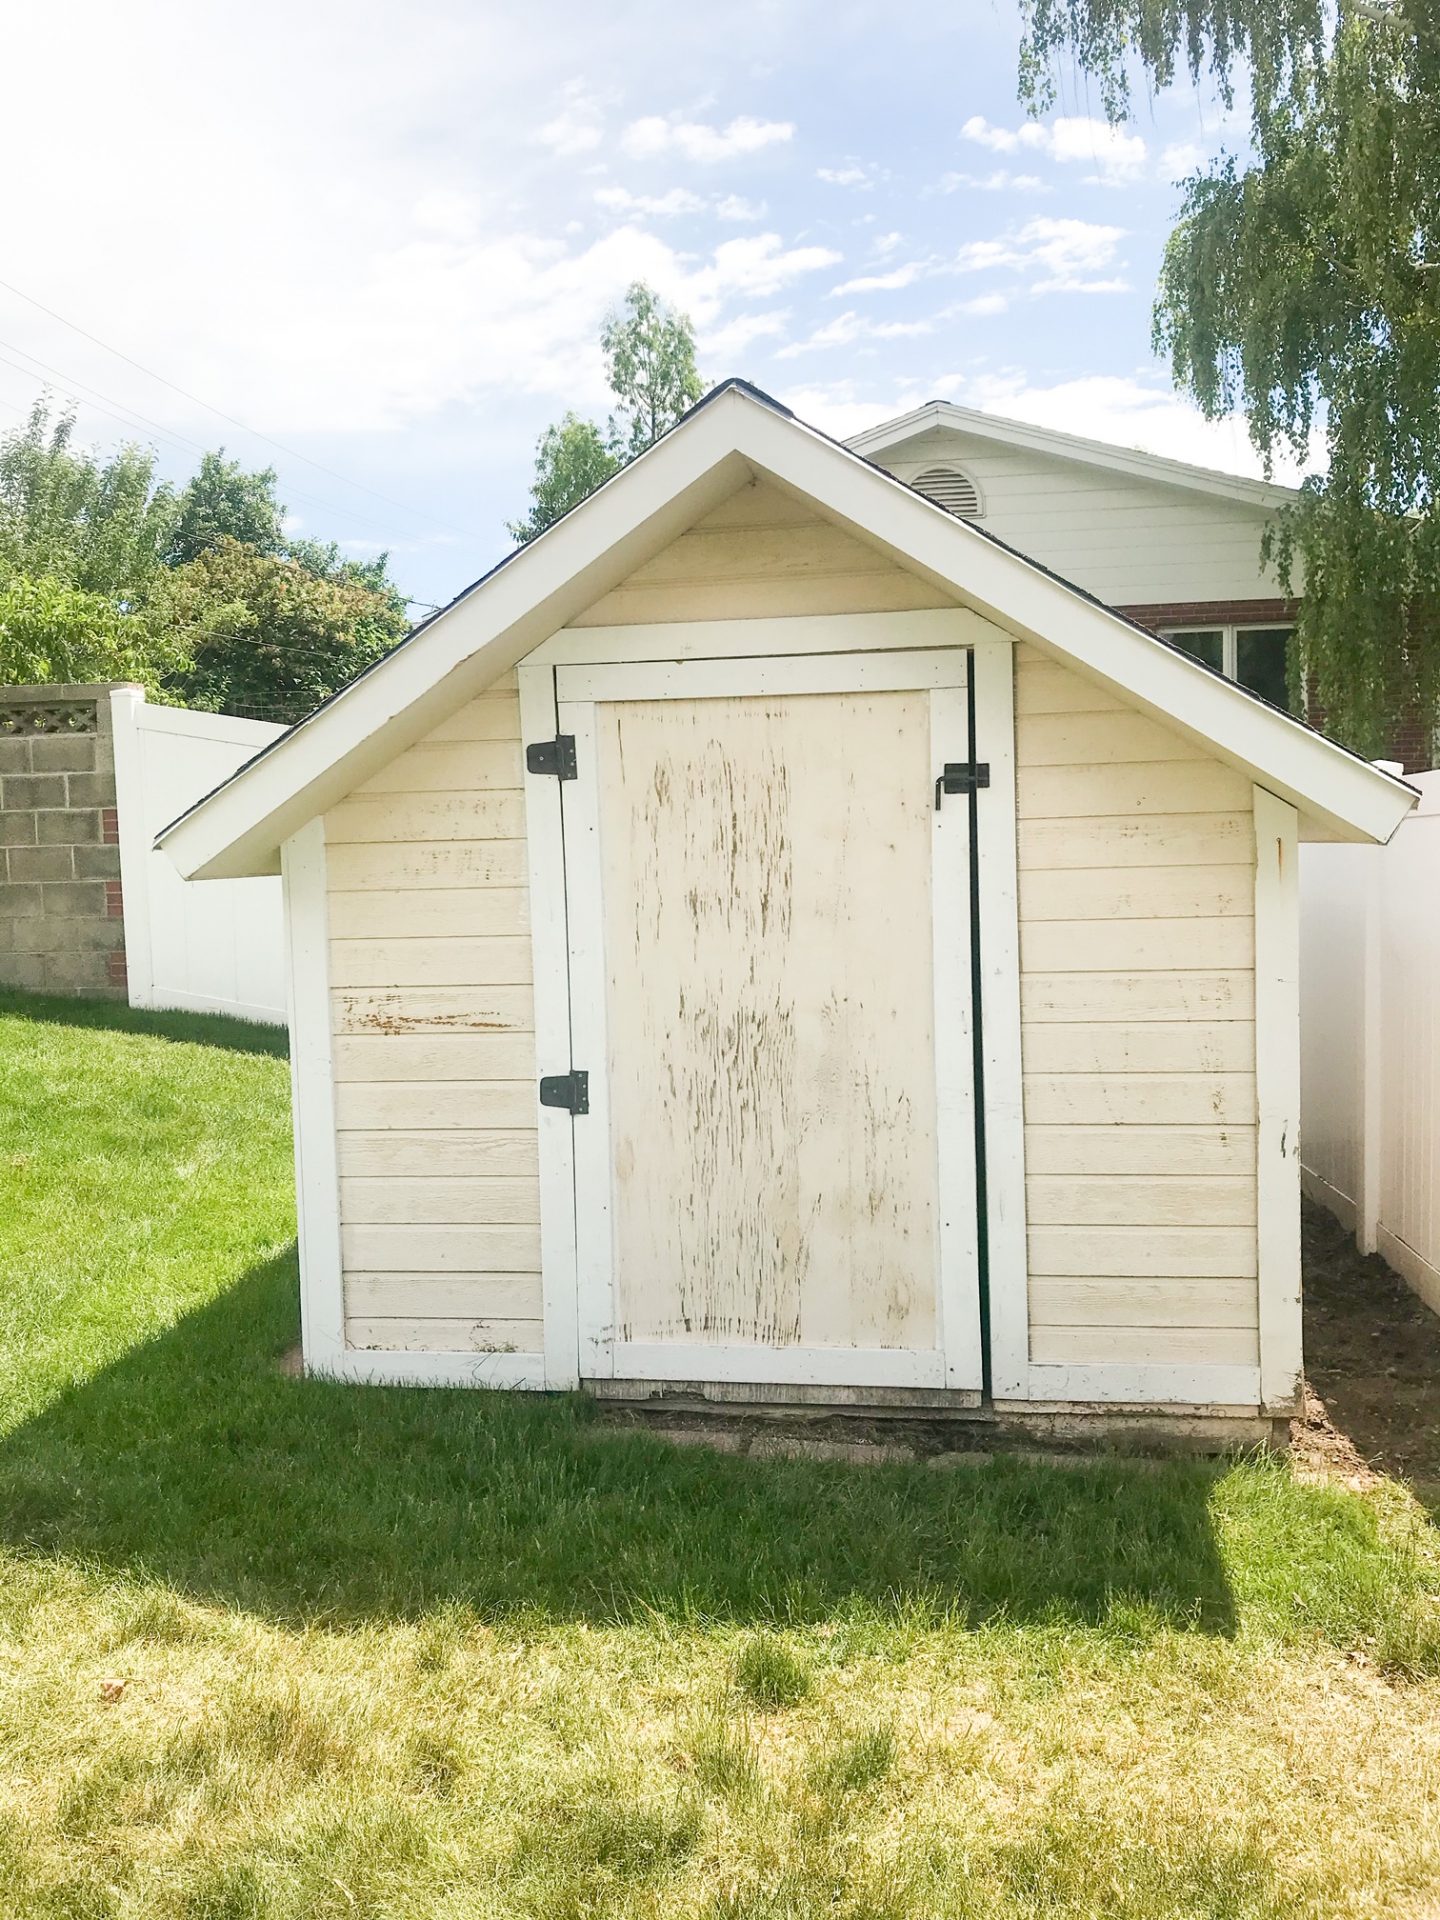
When we bought our house in 2017 there were a few things we didn’t love, but could live with. One of those things was definitely our shed. It was worn out, run down, and we just didn’t love the look of it. Well, since having to be stuck in our homes due to covid-19, we decided to take on our little shed project. Thinking it was a simple shed remodel is an understatement, but with our final results we couldn’t be happier how it turned out.
Ground Control
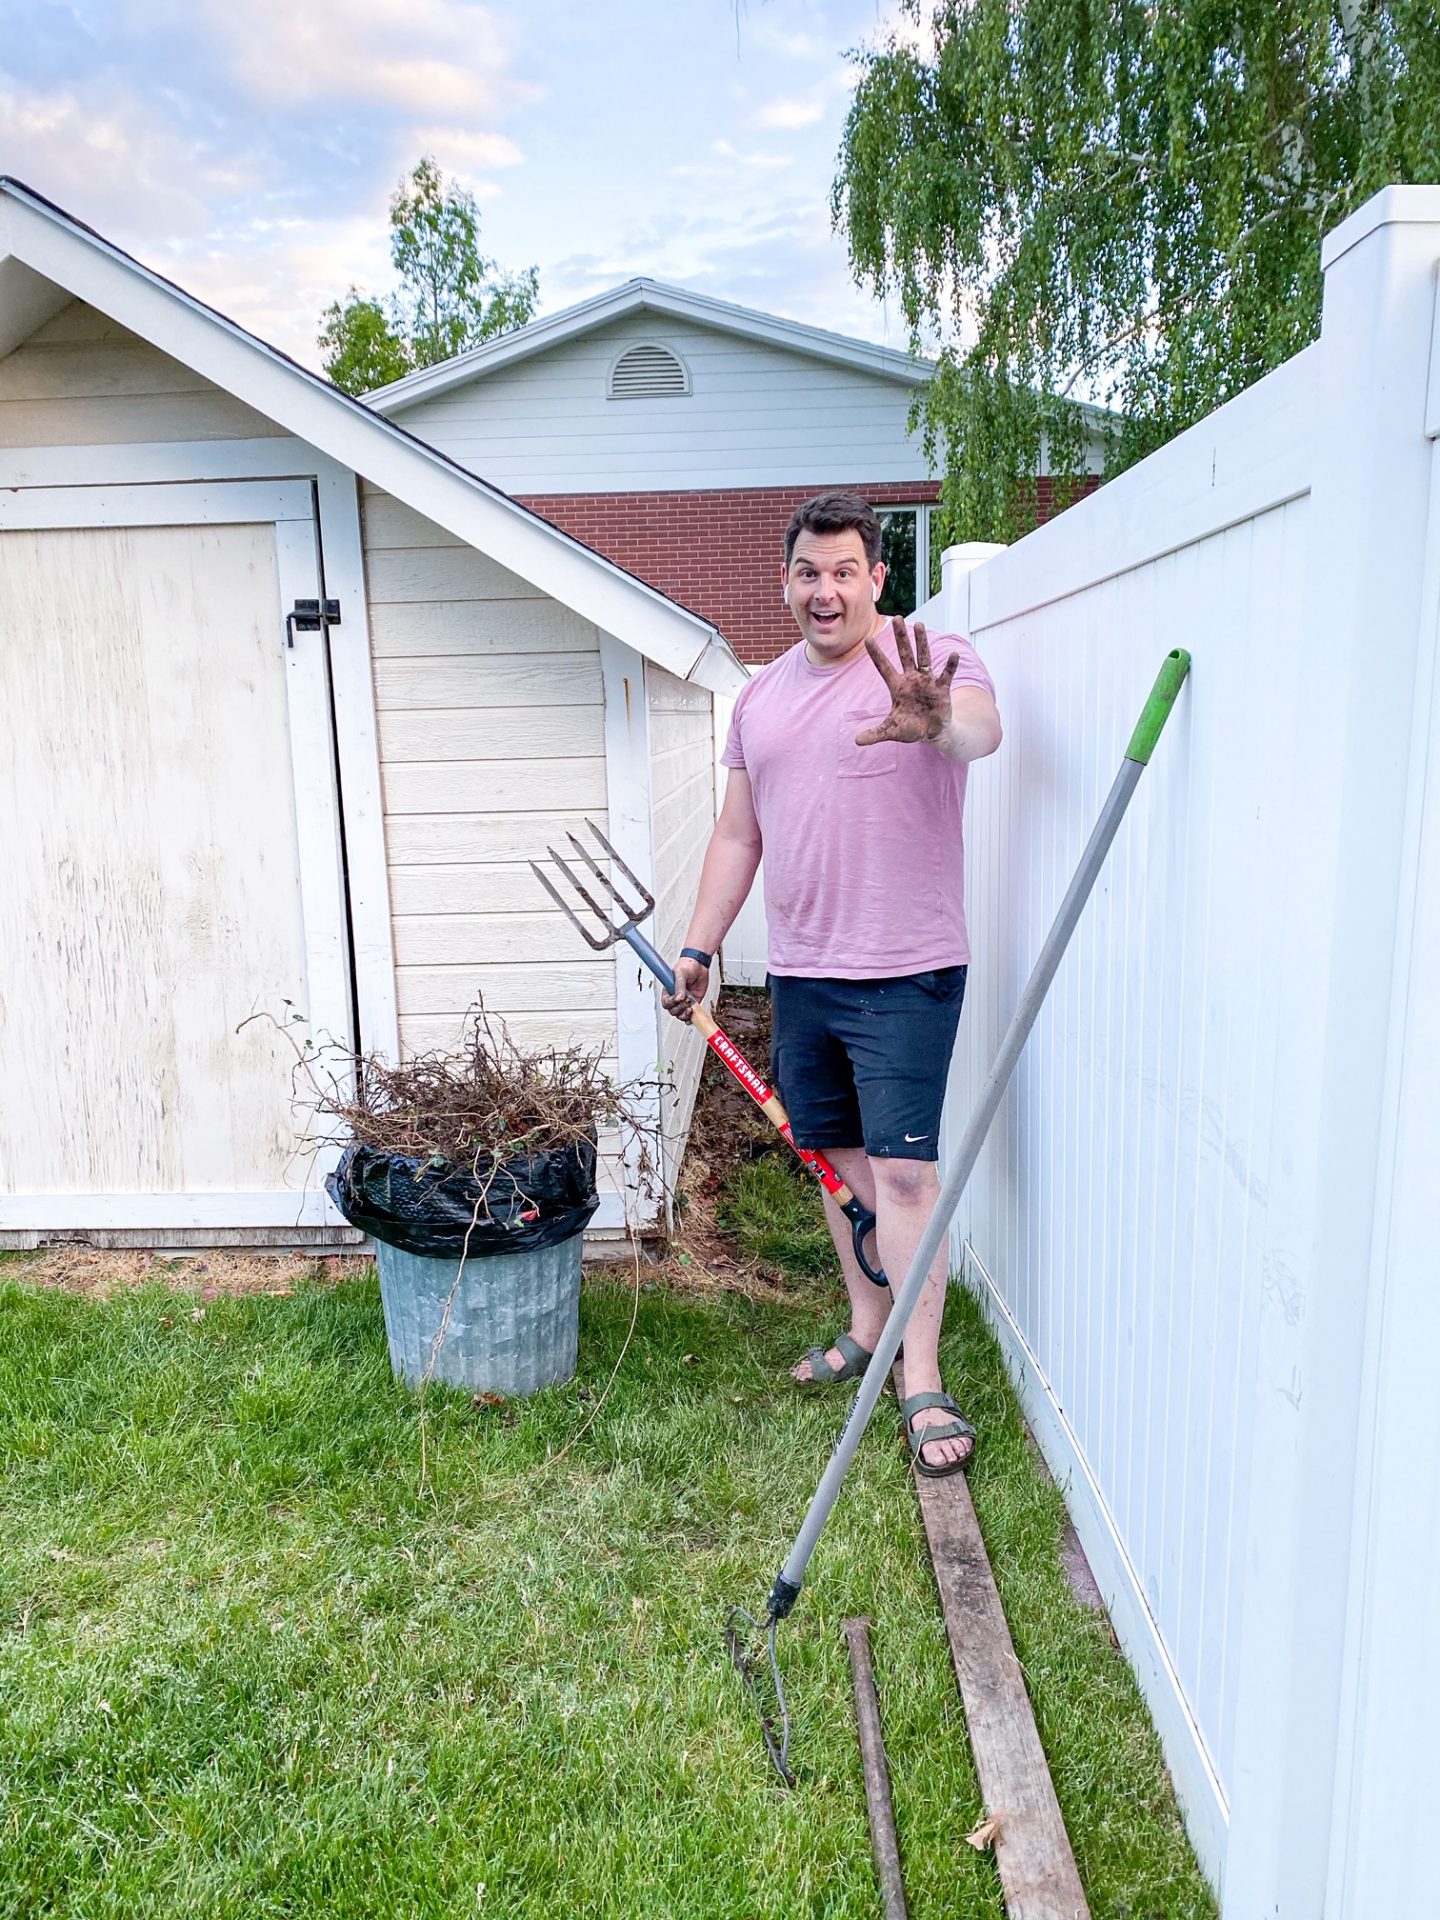
The first thing I wanted to do was removal the weeds and growth that was happening all around the shed. It always looked messy and I was done trying to take everything out all the time. Plus, it attracted wasps and the kids hated getting things in and out of the shed. I started by spraying everything with Killzall trying to make it easier. This worked for the most part, but wasn’t working on the ivy we had growing.
After Googling and asking around, I figured out how to remove the ivy the best I could. Soaking the entire area with water a few times, turning the soil, and then hand pulling it all out. This wasn’t fun, but got the best results and once I was done it looked so much better already.
Paint Job
I thought that giving the shed a good spray down with a power washer would be ideal and have it look better, but I was wrong. The siding on the shed shredded slightly with the power washer making it actually look worse than before. Maybe if we would have just sprayed it with the jet sprayer on our hose, we would have had better results, but you live and you learn.
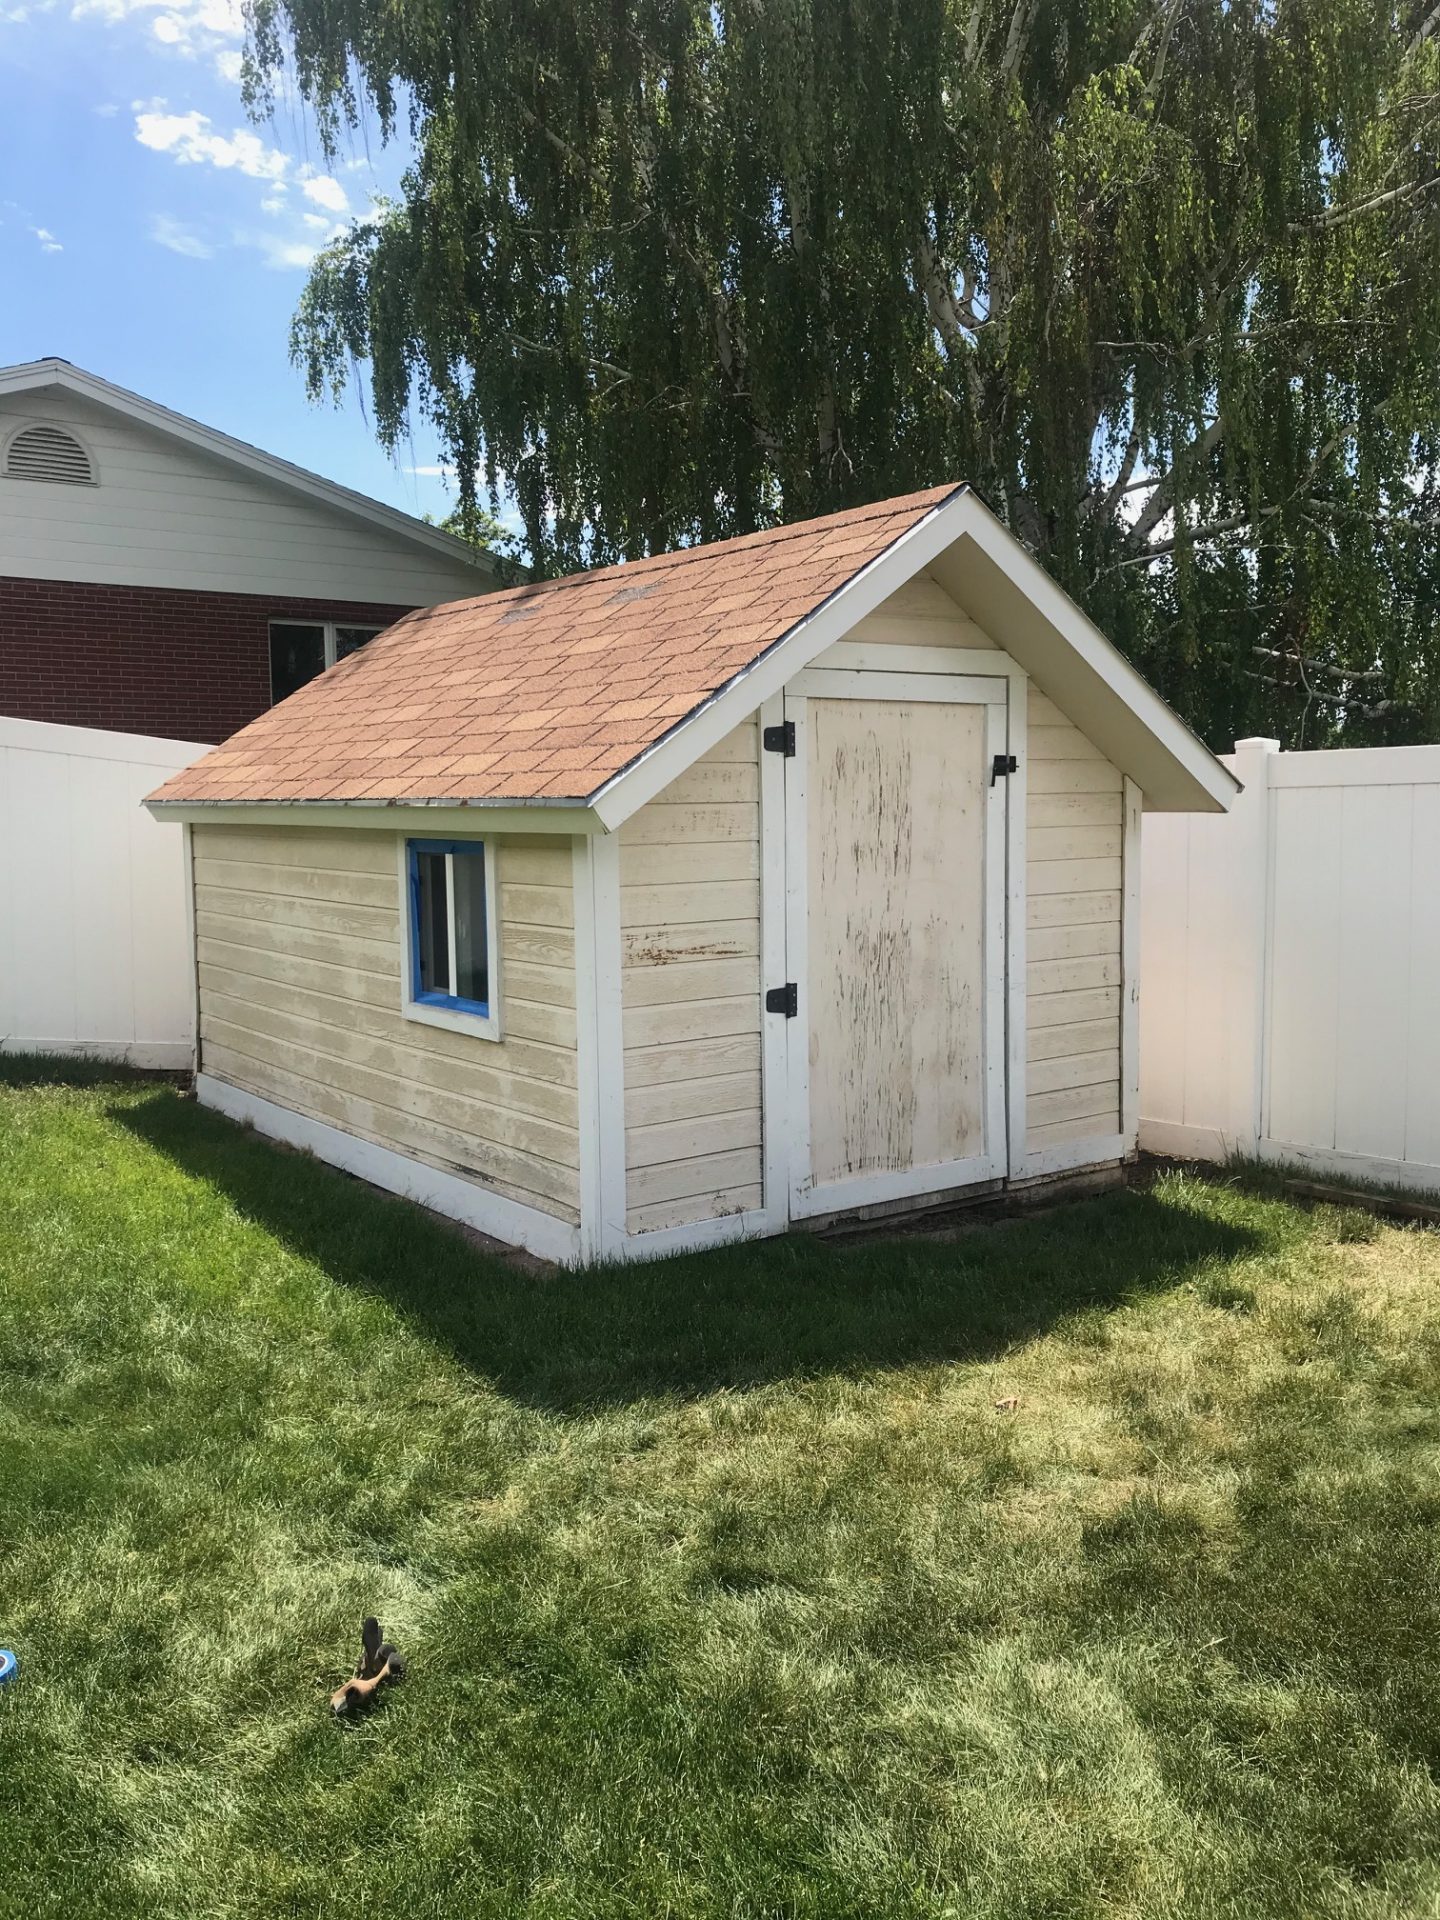
Emily primed it all with a brush because we had recently been experiencing a lot of wind and felt that the sprayer would not be best for it. Plus, the sprayer isn’t the most fun to clean. If you are going to do a simple project like painting the shed it didn’t seem like it was worth the clean up. We were wrong there too!

We ended up using the sprayer to do the paint. It was quicker and gave it a much better look. We were inspired by ISPYDIY door color, which is Silver Celadon by Behr Paint. It’s a Chalk Paint color, but if you ask them to color match it you will be fine and we just did a matte finish.
I don’t think they got the exact color we were wanting because it is an old color and they were having issues with their system, but at the end of the day we loved the way it turned out.
Total cost would be for a gallon of paint for outdoor and a gallon of primer.
Rocks and Pavers
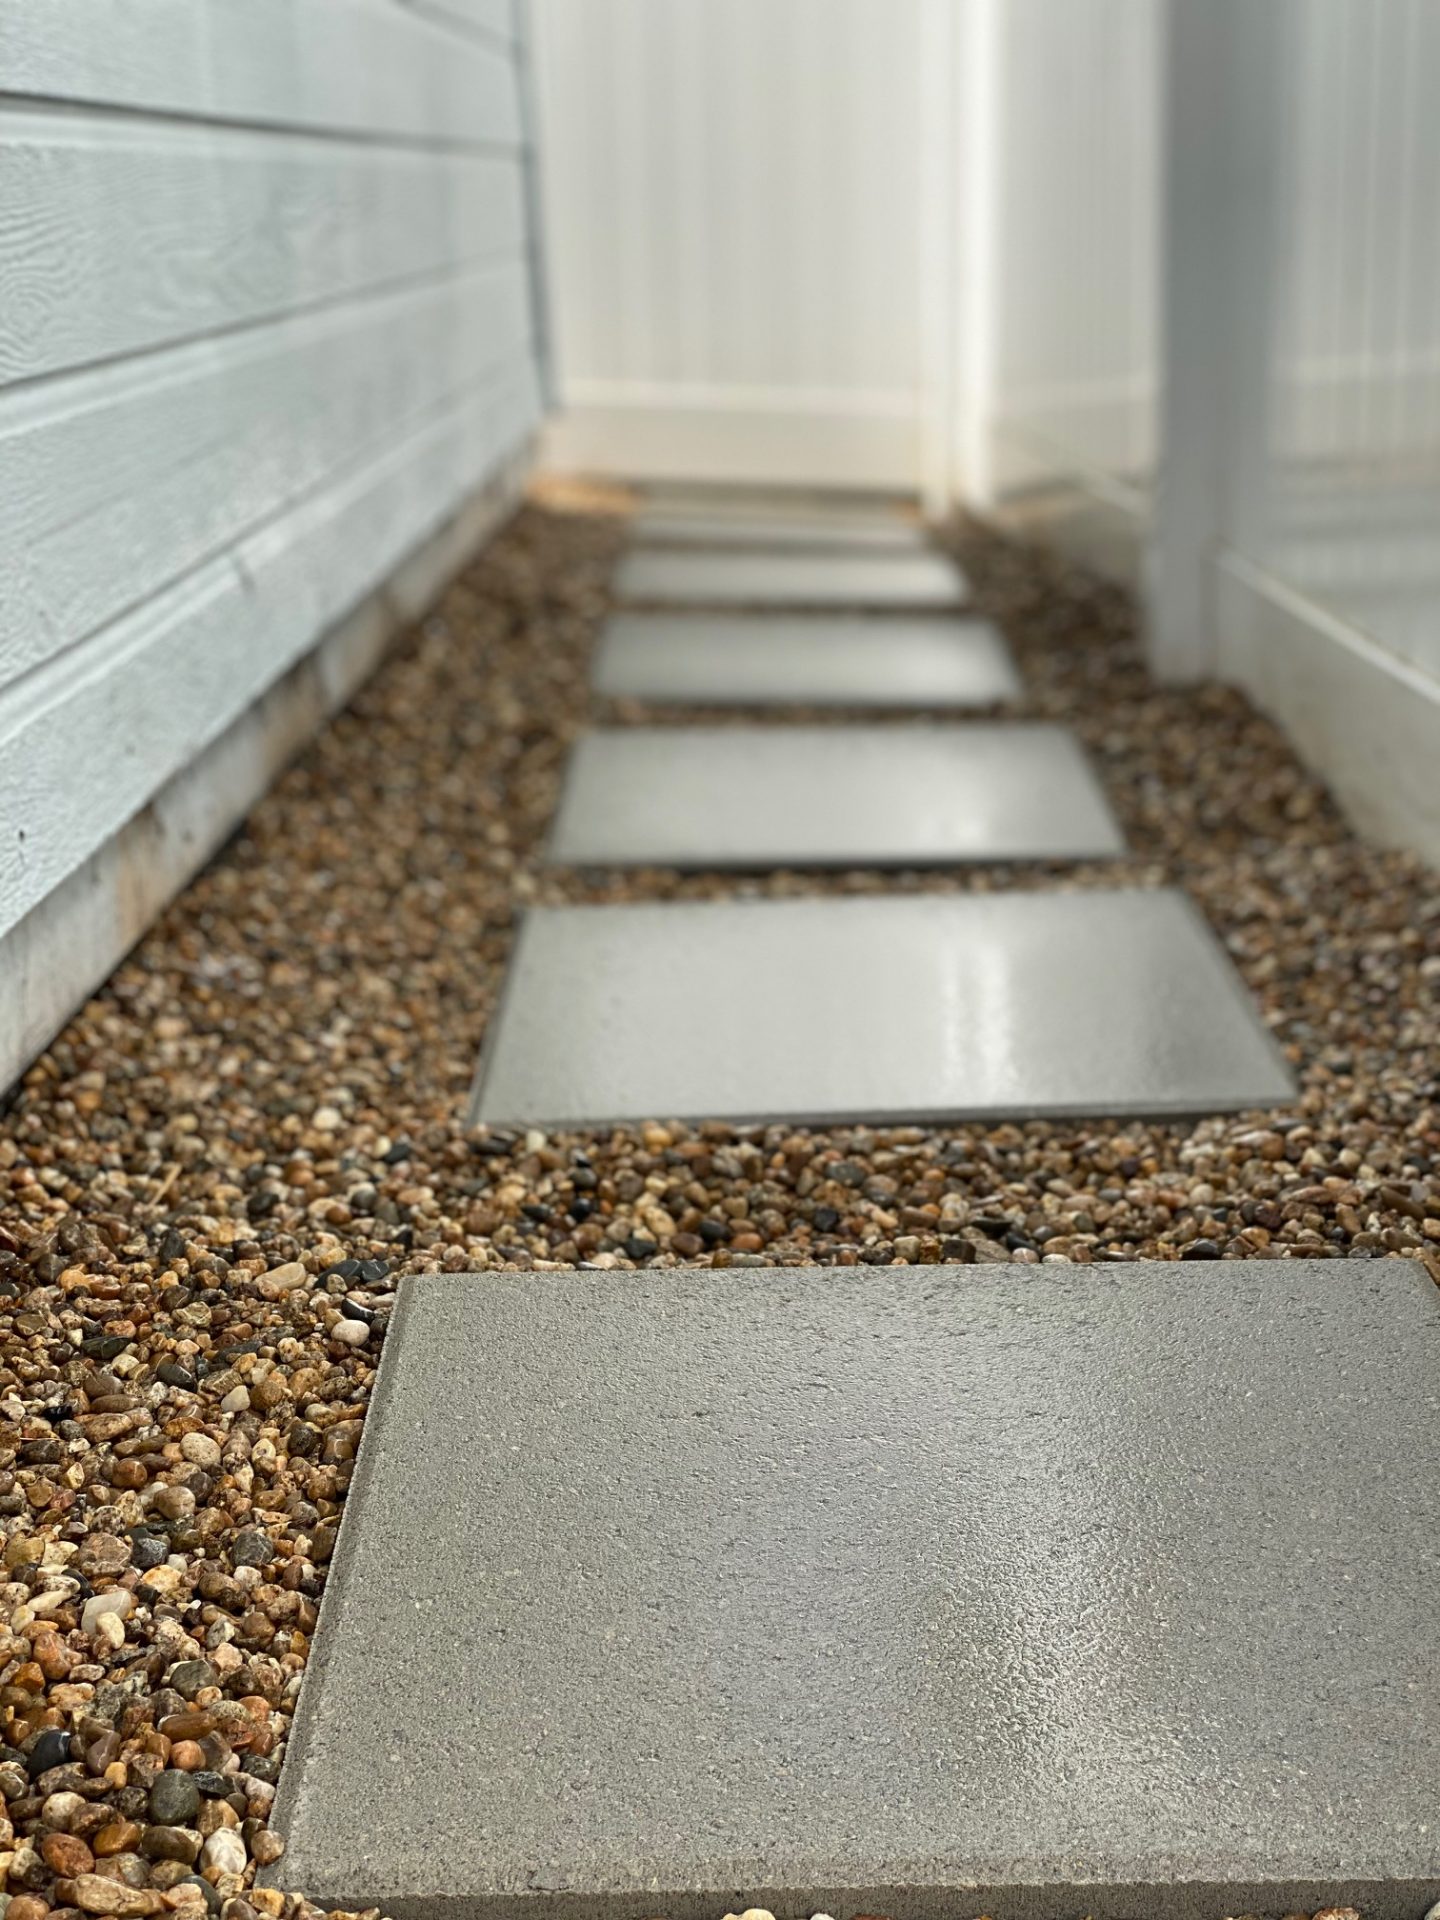
It would have been simple to just lay ground clothe down and cover everything with rocks. But I didn’t want that. I added 16″ x 16″ concrete pavers to A. take up more space and B. I just liked the look of them around the shed.
When purchasing these things, they basically all cost around $5 each ($4.96 to be exact). But things I got were ground clothe cover 3 feet by 100 feet (about $10), five bags of sand for leveling, 11 pavers, and five bags of pebble rocks. Totaling about $115 for these supplies, which I thought, was a lot lower than expected.
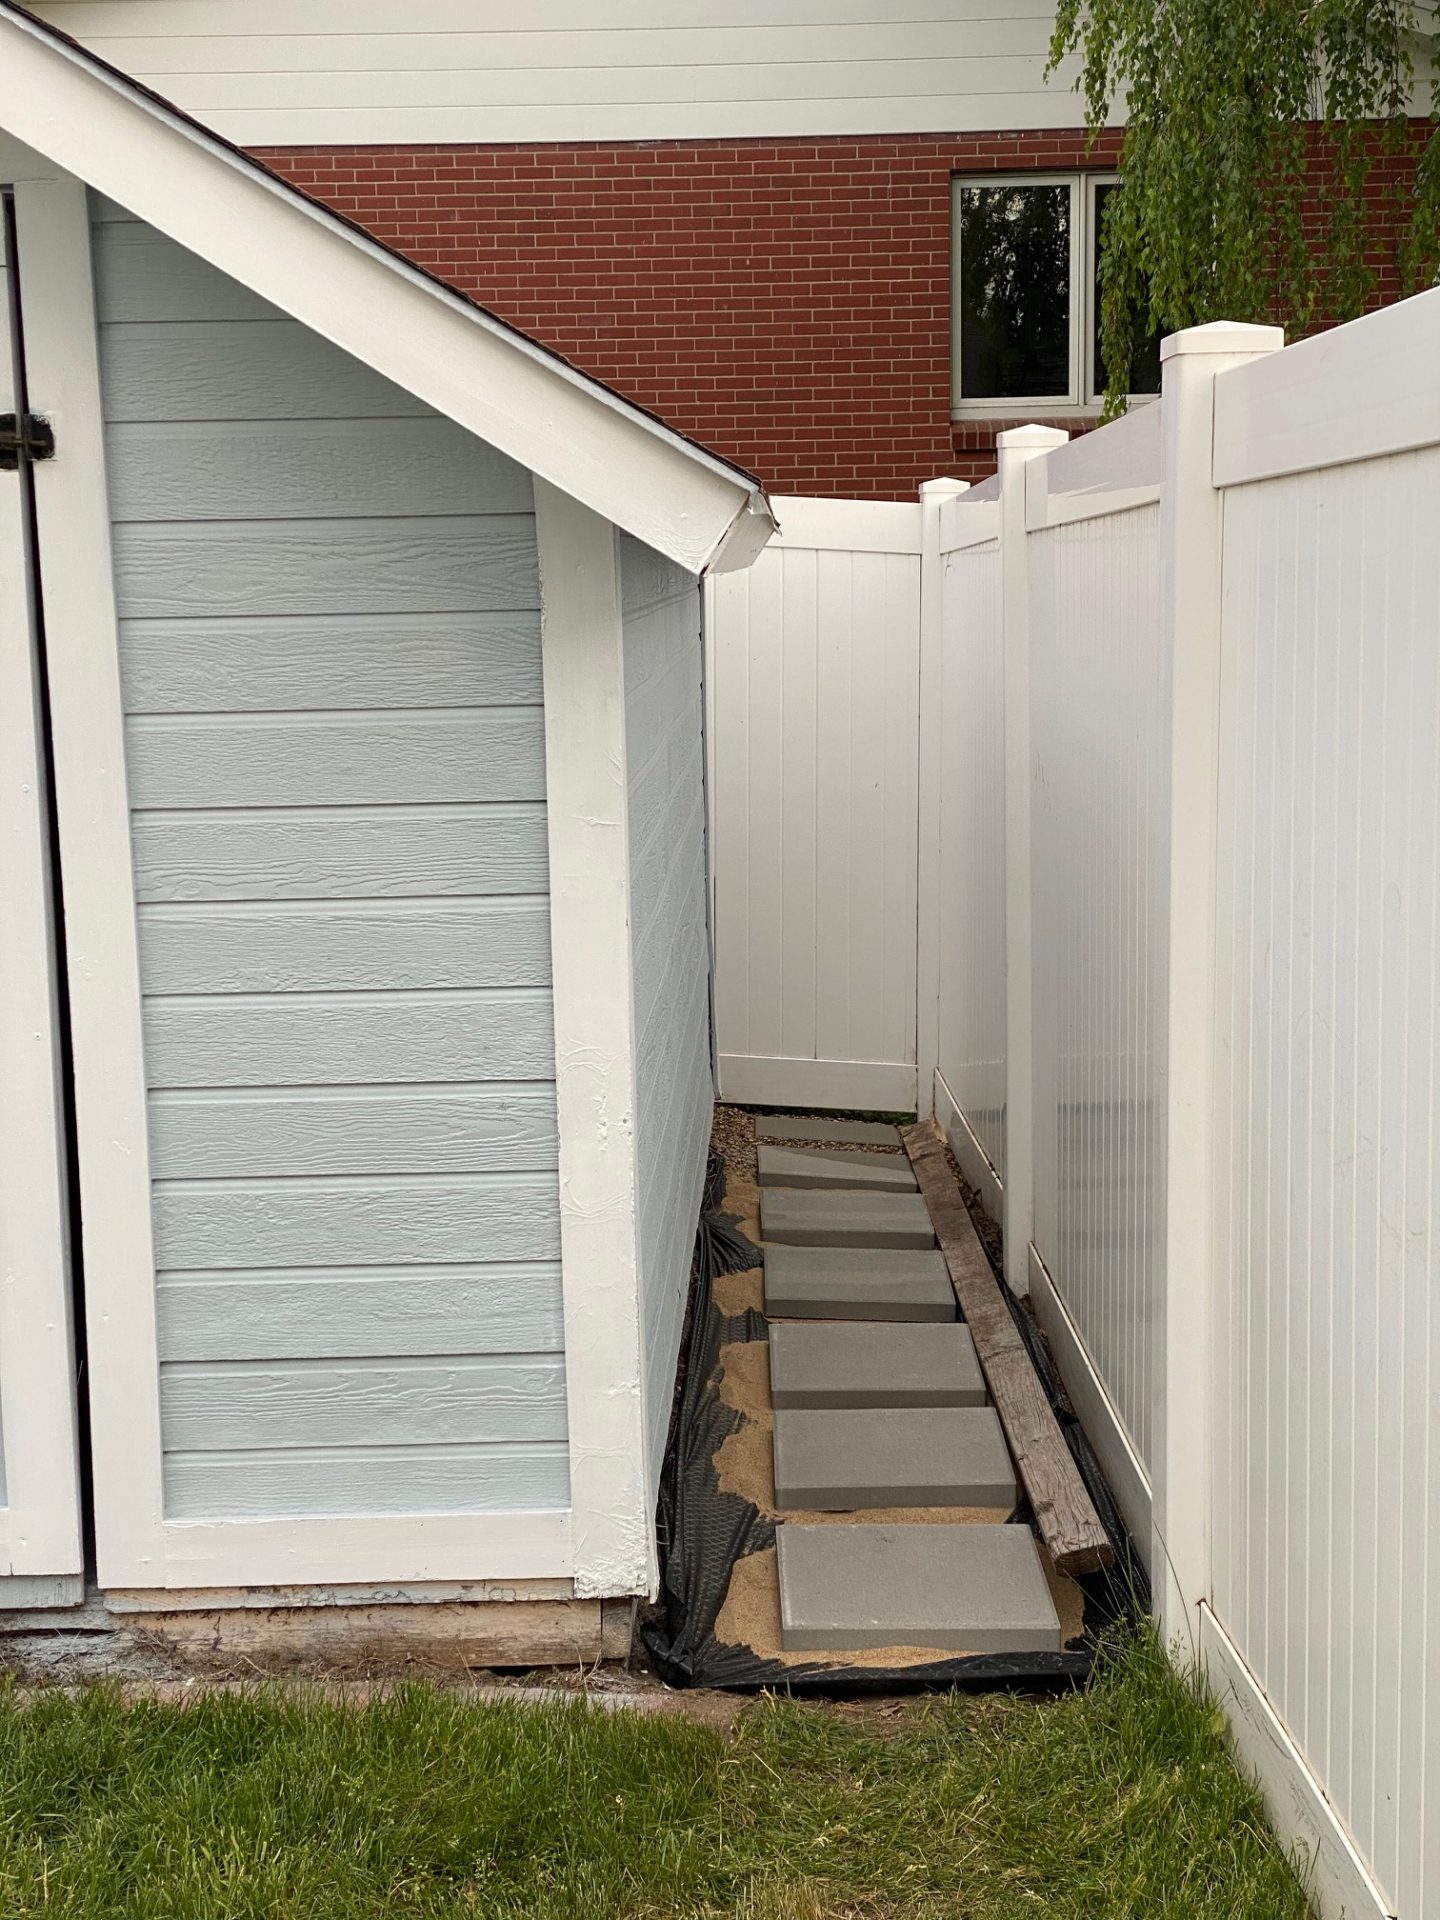
I tried flattening the ground the best I could, laid the ground cloth, and did piles of sand that I would flatten out with a board then place the pavers on top. I happened to have a long board that I could use to make sure everything was even. Giving it a nice look, but not making it absolutely perfect.
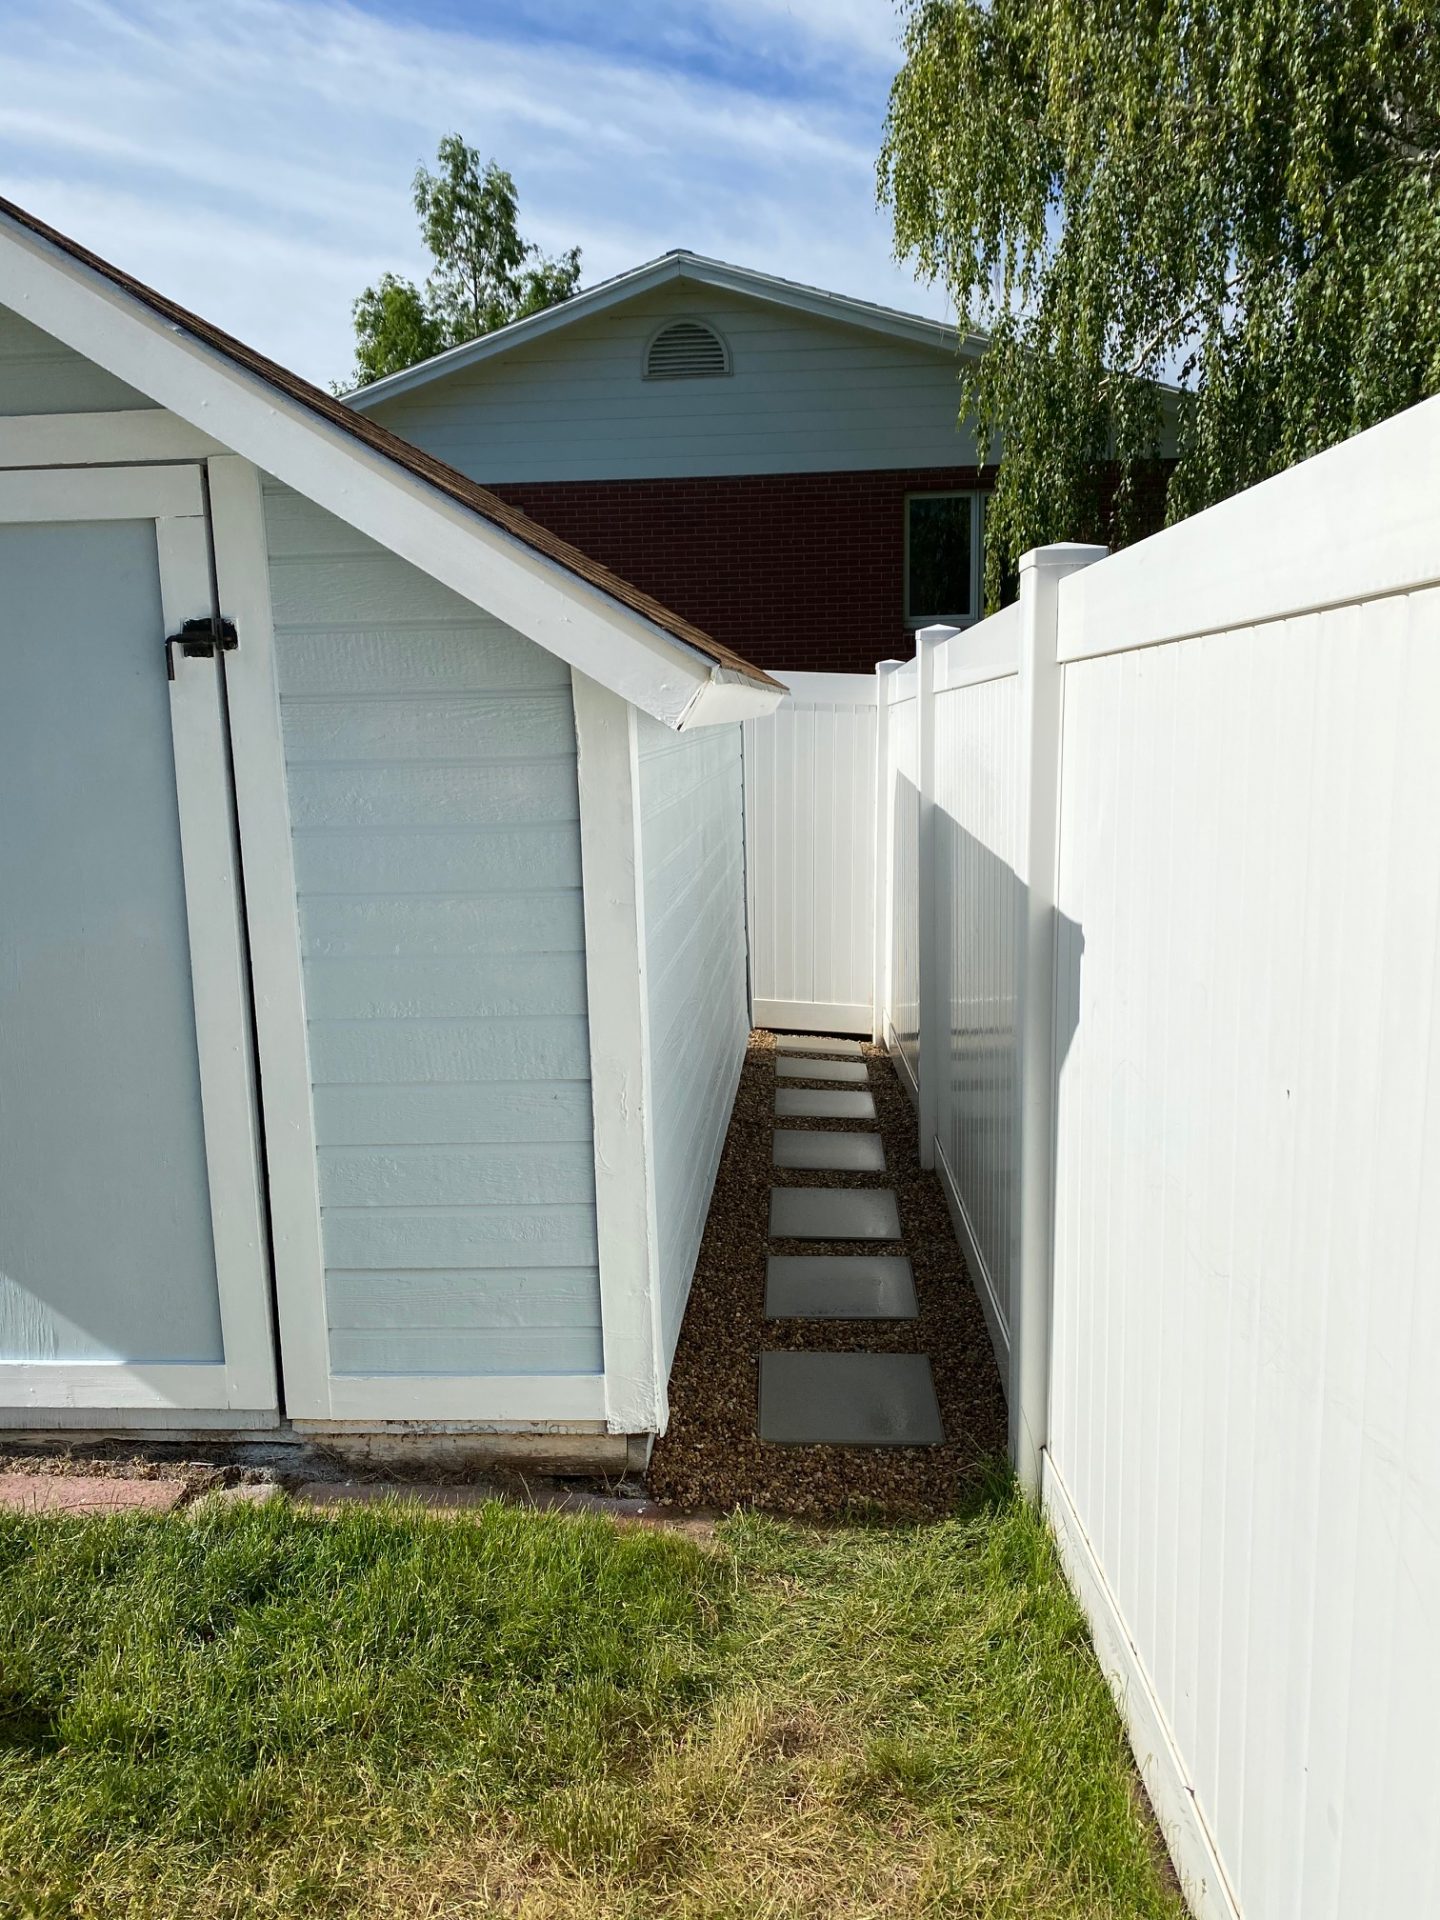
Once the pavers were placed, it was simple to pour the pebble rocks into place. I thought it wouldn’t take as many bags as I did, but after three bags, I realized I needed seven total. Once they were all filled in between each paver, wall, and shed it really looked so much better. After that, I swept off all the pavers and the sprayed everything down to just look cleaner and help it all settle better.
The Final Look
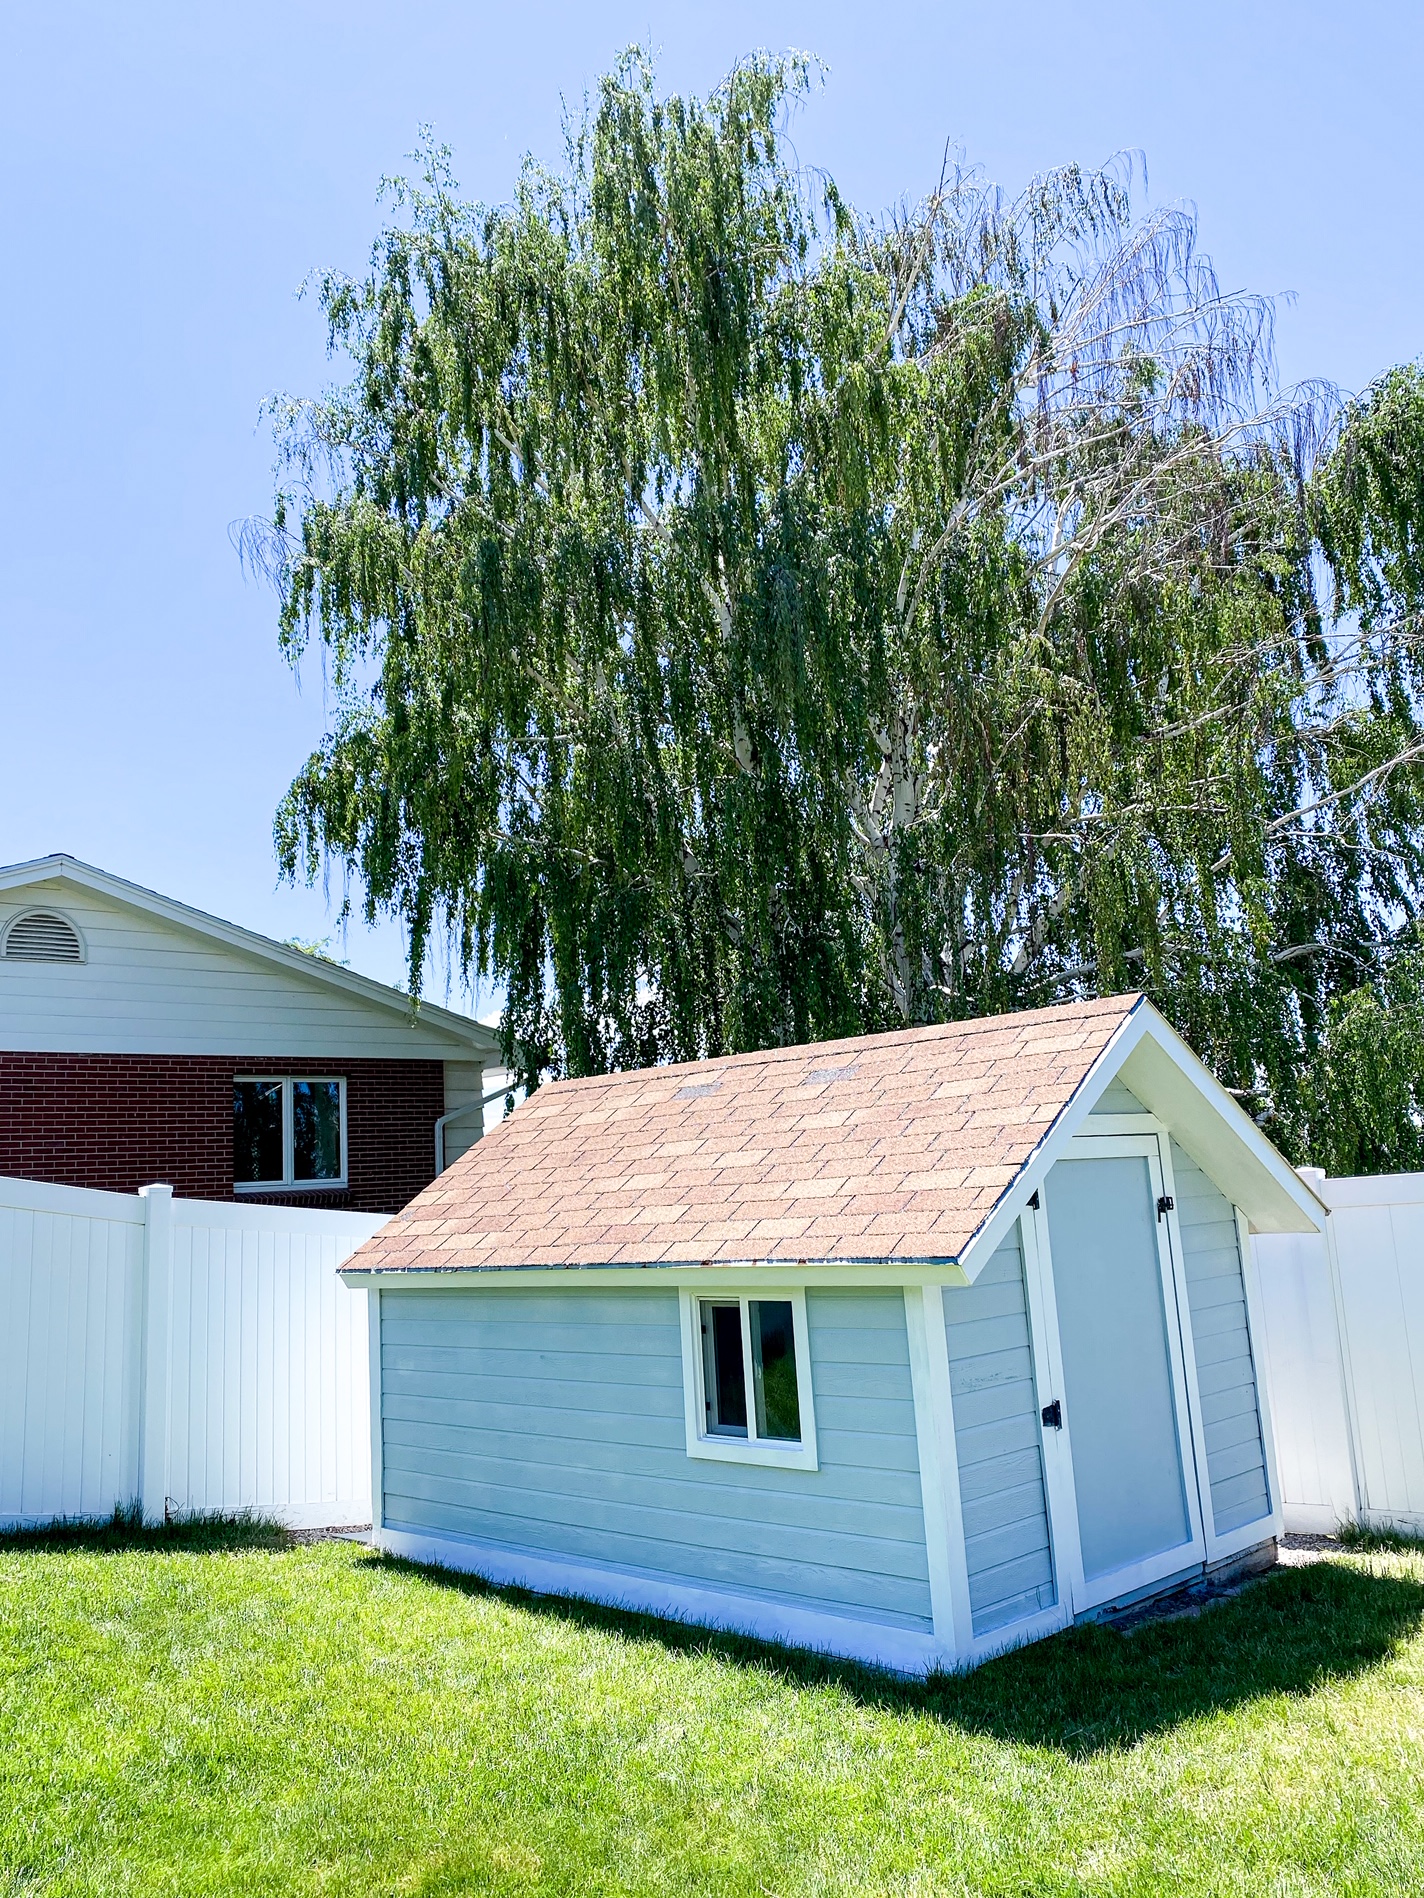
If you were to ask me if I would do this again, the answer is yes! It was more work than I expected, but the final look is so much better than I thought it would be.
With kids, the pebble rocks have been a little bit of a struggle to keep under control, but I really love the look of it all. I might do some kind of barrier to keep them out of there, they have just been loving running around the shed and playing.
And, we will be adding a flower box under the window that will just give the shed a final look to it. It’s just about finding the exact one we want that will work with our window.
Final Cost to Budget
Paint and primer: $100
Pavers/sand/pebbles/ground clothe: $115
Total: $215

